




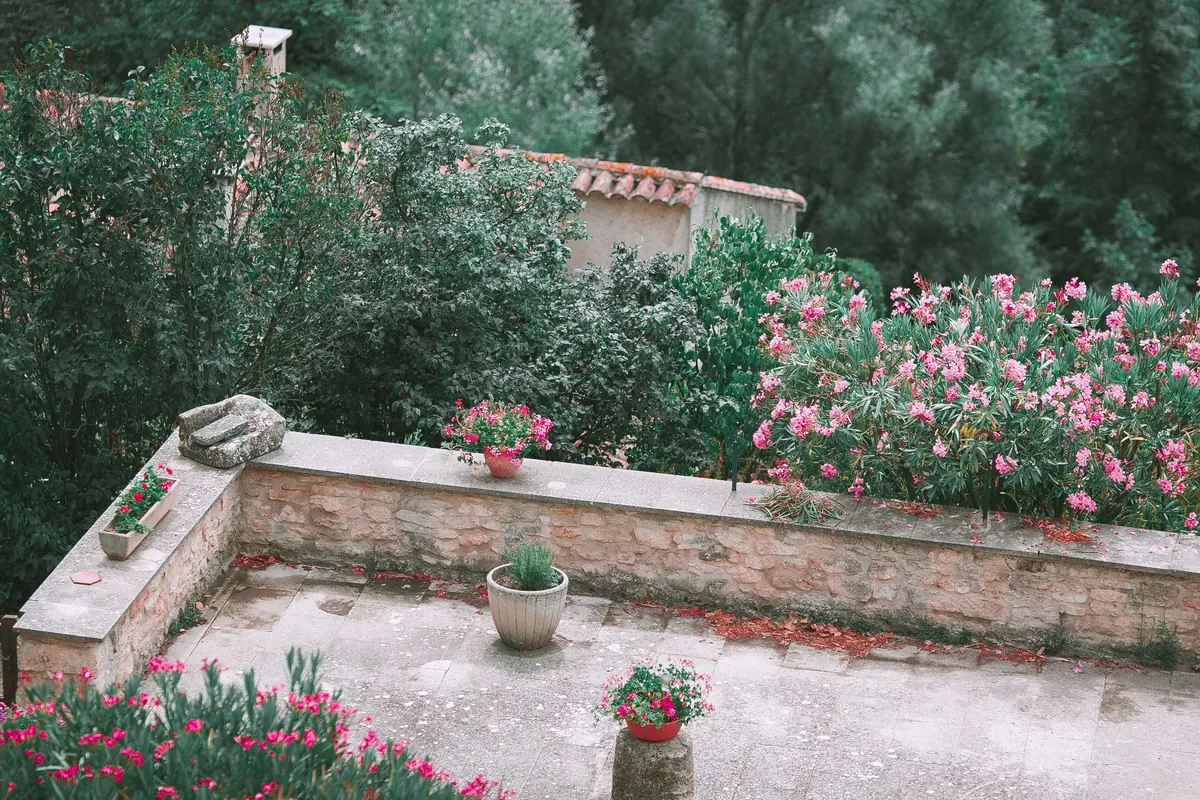
A sloping garden is not a fault to be corrected. It is a series of floors waiting to be built. Get the levels right and an awkward bank becomes the most useful part of the plot: a sunny top terrace for vegetables, a sheltered middle one for a table and chairs, a bottom level that finally drains. The trick is to work with the fall rather than fight it, and to choose materials that will still look right in fifteen years. Cedar and stone are the pairing most likely to manage that.
It is worth saying plainly that a sloped garden rewards patience more than almost any other kind. Flat ground forgives a rushed decision; a bank does not. Get the drainage wrong and you will be rebuilding in three years with a spade in one hand and regrets in the other. Get it right, and you end up with something a level plot simply cannot offer: distinct rooms, each with its own light, shelter and purpose.
Read the slope before you design anything
Start with a wet winter's worth of observation, not a mood board. Walk the garden after heavy rain and note where water sits, where it runs, and where the ground stays soggy for days. Then measure: a long straight edge with a spirit level, or a line level on a taut string, gives you the fall across the plot and, more usefully, the fall in each section.
Write down what will not change: aspect, shade from neighbouring trees and buildings, the position of drains and manholes, and how a barrow or a pallet of sleepers will reach the back of the plot. Access shapes the design more than most people expect.
It also helps to note how you actually intend to use the space, because a slope punishes vagueness. If the top of the garden faces south, that is where the raised beds, the greenhouse and the drying line belong. If a hedge or wall casts afternoon shade across the middle, put the seating there and it will stay usable on the hottest days. The bottom of a slope is usually the coldest, dampest, most shaded ground — which makes it exactly the right home for a shed, a compost bay, a pond or a bog garden of ligularia and astilbe. Nothing is wasted if it is placed deliberately.
A short survey checklist
- The total fall in millimetres across the plot, and the fall within each proposed terrace.
- Where water arrives from, including any neighbouring ground you cannot alter but must accommodate.
- Sun and shade at three points in the day: morning, midday and late afternoon.
- Existing drains, soakaways, cables and pipes. Never build a wall over a manhole.
- The widest access route, measured honestly. A pallet of stone will not fit through a gap you squeeze through sideways.
- Anything worth keeping: a mature tree, a good view, an old flight of steps, a dry stone wall that has earned its place.
Setting the levels so the garden works underfoot
Terracing is a trade-off. Big terraces mean tall retaining walls, more structural work and more cost; small terraces mean more walls, more steps and more edges to trim. On most domestic slopes, a change of around 450–600mm between terraces works well: enough for one or two generous steps wherever you cross from one level to the next.
For steps, a riser of about 150mm with a going of 300–400mm suits most people. Garden steps can be shallower and wider than indoor stairs, and usually should be: generous treads feel calmer and are safer when the ground is wet or the light is poor. Keep the number of levels modest, too. Three terraces are plenty for a garden of average size, and two are often enough.
Two shallow steps you barely notice will always feel better than one tall one you have to think about — especially while carrying a full watering can.
Why cedar and stone belong together
Stone and cedar are an old pairing and an enduringly sensible one. Stone is hard, mineral, weatherproof and effectively permanent. Cedar is soft, warm, fragrant and light enough to move and cut. Used together, each covers the other's weaknesses: stone takes the load and holds the soil, while cedar provides the surfaces you touch, sit on and lean against.
- Stone for retaining walls, step risers, edge setts and anything that must resist soil pressure and water.
- Cedar for steps, decking, raised bed faces, pergola posts, seat tops and handrails.
- Both for the details where structure meets comfort: a stone wall with a cedar coping, or cedar treads set into a stone bank.
Cedar earns its reputation honestly. It resists rot and insect attack without chemical treatment, holds its shape well, and weathers to a soft silver-grey that sits comfortably beside stone. If you prefer the original warmth, an annual coat of UV-filtering oil will slow the silvering — though many people decide the aged colour is the better of the two.
Building the retaining walls
Let stone do the heavy lifting
Any wall holding back more than about 600mm of soil is doing structural work and needs building accordingly: wider at the base, leaning very slightly back into the slope, with a firm compacted foundation beneath it and proper drainage behind it. Dry stone is beautiful and suits low walls and rural settings; mortared stone, or blockwork faced with stone, is more appropriate where the wall is tall or a boundary is involved.
Whichever you choose, the drainage behind the wall matters as much as the wall itself. Water that cannot escape will find its way through the mortar, under the footing, or into next door's garden.
Let cedar soften the edges
Cedar comes into its own on the parts of the terrace you actually touch. Cladding a block retaining wall in cedar slats, or building raised beds with cedar boards on a stone base, gives you something structurally robust that still looks light. Cedar also takes a saw cut and a screw without complaint, which means repair and alteration stay realistic prospects rather than distant fantasies.
Steps, paths and places to sit
Steps on a slope do more than connect levels. They are where the design feels either generous or mean, and where water is most likely to become a nuisance. Set them slightly wider than the path leading to them, and give each tread a very slight forward fall so rain runs off instead of pooling.
Landings matter. A step or two, then a wider landing, then another step or two, will always be easier to use and better looking than one uninterrupted flight. The landing is also the natural home for a bench, a potted tree or a light. Where space allows, build in at least one place to sit at every level; a small paved spot on the top terrace, facing the view, will be used more than any other part of the garden.
Drainage: the detail everyone forgets
Terraces interrupt the natural flow of water down a slope, so you have to design a new route for it. This is the part of the job that determines whether the whole thing is still standing in ten years.
- Lay a perforated pipe in a gravel-filled trench behind every retaining wall, wrapped in geotextile to keep silt out.
- Give that pipe a fall of at least 1 in 100 towards a suitable outlet, soakaway or drain — never towards a neighbour's boundary.
- Leave weep holes through the wall itself as a second line of defence, particularly in mortared stonework.
- Shape each terrace surface with a gentle fall towards a shallow channel or gravel-filled French drain at the rear of the level.
- Top the gravel with permeable geotextile and decorative stone, so it stays functional and still looks deliberate.
Where the lower garden is damp and shaded, do not fight it. A bog garden or a small pond will make a feature of the very conditions that made terracing necessary in the first place.
Planting the terraces
Terraces create microclimates, so choose plants to match them rather than arranging everything by colour alone.
- Top terrace: sunniest, driest and most exposed. Ideal for raised vegetable beds, herbs, lavender, rosemary and drought-tolerant perennials.
- Middle terrace: sheltered and warm. The best place for a table, a bench, and tender plants such as figs or olives in large pots.
- Bottom terrace: coolest and dampest. Fine for ferns, hostas, astilbes, moisture-loving trees and a pond.
- Wall faces and step edges: let thyme, aubrieta and sedum tumble over the edges to soften the lines between levels.
Leave the walls a little room to breathe. Planting hard against a retaining wall will push soil and water into the structure over time; a narrow gravel margin solves both problems and looks neat into the bargain.
A sloped garden asks more of you than a flat one: more measuring, more structure, more money spent on things nobody will ever see. In return it gives you rooms, views and a sense of arrival that a level plot cannot provide. Build it out of stone and cedar, give the water somewhere sensible to go, and the slope stops being the problem you inherited and becomes the reason the garden works.
Photo: Maria Orlova / Pexels
Related posts
More stories you’ll love reading