




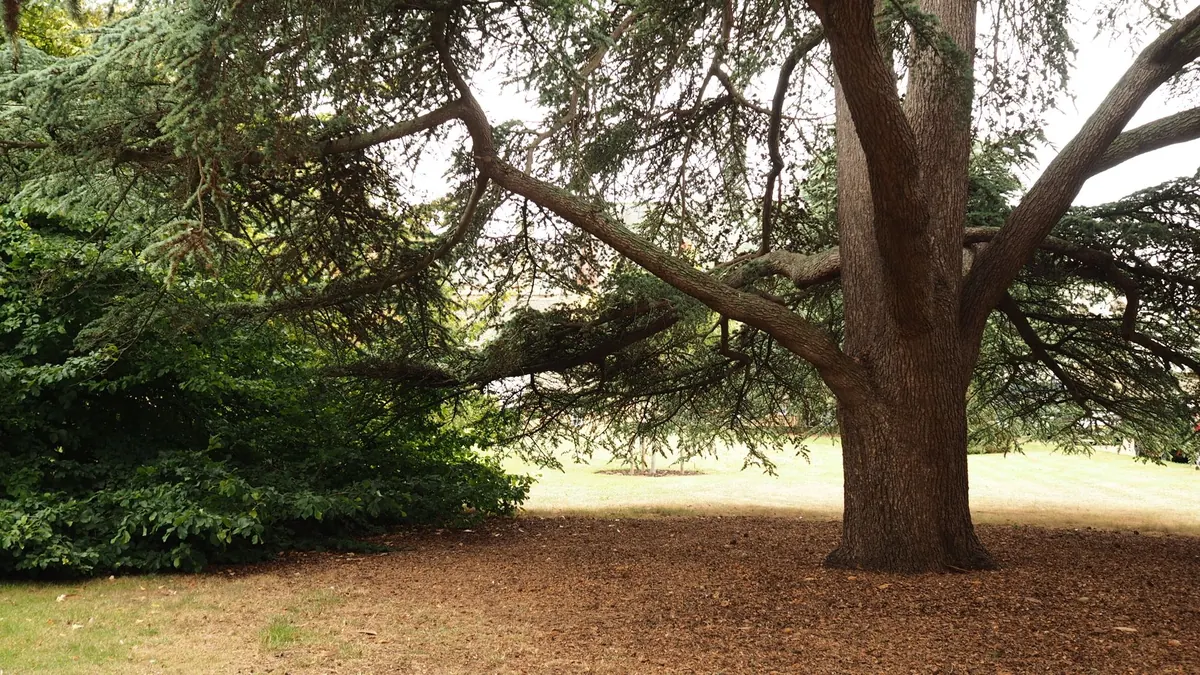
Cedar earns its place in a garden path for three reasons: it is light enough to handle, stable enough to stay flat, and naturally resistant to rot without being soaked in preservative. Western red cedar in particular weathers to a soft silver-grey if you leave it alone, or keeps a warm honey tone if you oil it. What cedar does not do is forgive a poor sub-base. Most sagging, springy, weed-infested timber paths fail because of what happened in the ground, not on top of it. Budget one weekend for excavation and the sub-base, and another day for bearers, edging and boards.
Plan the route, then choose the boards
Walk the line of the path in winter, when the ground is at its wettest. If water sits there in February, it will sit under your boards in July, and cedar left in permanent damp will eventually soften at the edges. Route the path away from the house wall and keep the finished surface at least 150mm below the damp-proof course, with a fall of roughly 1:80 running away from any building.
On width, 900mm is comfortable for one person; go to 1200mm if you want two people to pass without stepping onto the border. Curves look better than straight lines in most gardens, but keep them gentle — tight radii mean short, fiddly boards and awkward joints.
For the boards themselves, look for 32–38mm thickness and 100–145mm widths. A rough-sawn or grooved face grips better underfoot than a planed smooth one. Avoid thin cladding stock of 19–25mm: it flexes, cups and splits around fixings, and you will be replacing it within a few seasons. Add about 10 per cent to your measured length for cutting waste and defects.
Set out and excavate properly
Mark both edges with pegs and a taut string line, then spray the lines on the ground so you can see them once digging starts. Before you put a spade in, run a cable and pipe detector over the route and check the position of any services, drains or irrigation lines. It takes ten minutes and saves an expensive afternoon.
Excavate to a total depth of 200–250mm, and dig 50mm wider than the finished path on each side so you have room to work and to seat the edging. Work out the arithmetic before you start: sub-base, plus bearer depth, plus board thickness should equal your dig depth. Strip the topsoil in spadefuls and stack it — it is perfect for topping up borders. Grade the bottom of the trench so it follows your intended fall; a sub-base laid on an uneven base will mirror every bump in the finished path.
Build a sub-base that will not move
This is the part nobody photographs and everybody notices five years later. A 100mm layer of compacted MOT Type 1 hardcore is right for a domestic footpath. Lay it in two 50mm passes and compact each one with a plate compactor or wacker plate, damping it lightly as you go. Two thin compacted layers always beat one thick loose one.
- Geotextile membrane under the hardcore stops it sinking into soft clay subsoil.
- Weed membrane over the hardcore keeps weed seeds out of any gravel infill.
- Sharp sand blinding of 15–20mm gives you a fine surface to bed bearers and take out small dips.
- Check the levels with a long straight edge and spirit level across the trench, not just along it.
Bearers, edging and drainage
Cedar boards need something to fix to. Run two long bearers or stringers down the path and add intermediate ones so no board spans more than about 500mm without support. Use 100 × 50mm tanalised timber or recycled plastic bearers; plastic costs more but will outlast the boards and never rots.
Sit bearers on concrete pads or firm bedding at 400–500mm centres, and check each one against a string line rather than against the bearer next to it, or small errors will accumulate along the path. Keep the tops of the bearers about 20mm above the surrounding soil so air can move underneath — cedar likes to dry out between rain showers.
For edging, tanalised timber boards set on edge against the bearers are the simplest option and suit a cottage garden. Steel edging is neater on contemporary schemes, while clay bricks or granite setts bedded on mortar give the most solid, longest-lasting edge. Whatever you choose, the edging should contain the sub-base and hold the whole structure in place rather than just decorate the sides.
Fixing the cedar planks
Work in dry weather if you can; wet cedar marks and dents more easily than dry. Stainless steel or galvanised screws are essential — ordinary steel screws will bleed black streaks down the grain within a year.
- Start at one end and lay boards across the bearers, leaving a 5–8mm gap between each. An offcut of 6mm ply makes a reliable spacer.
- Pre-drill pilot holes slightly narrower than the screw shank, especially within 50mm of a board end. Cedar is soft and splits readily.
- Fix two screws per board at each bearer, countersinking them just below the surface so they do not catch boots or bare feet.
- Check the path stays square as you go by measuring diagonals across the first few rows.
- Cut the final board to fit, seal the cut end with an end-grain preservative and fix it in place.
If the path crosses a slope or a shaded, algae-prone area, choose grooved boards or screw down a few discreet anti-slip strips. Wet cedar on a north-facing slope can be genuinely slippery.
Finishing and aftercare
Sweep the path, then oil it with a clear decking oil rather than a film-forming varnish, which flakes and traps moisture. A single coat on all faces before laying, with a top-up coat afterwards, gives the boards a good start. Re-oil every year or two if you want the original colour; leave it untreated and the cedar will fade to an even grey, which many gardeners prefer.
Keep on top of maintenance with a stiff brush and soapy water, and avoid blasting the surface with a pressure washer at close range — it raises the grain and roughens the timber. Clear fallen leaves in autumn so the gaps between boards keep draining freely.
Getting the foundation right pays off
Most of this job happens before a single cedar board appears: a level trench, a properly compacted sub-base, bearers that sit clear of the soil and an edge that holds everything together. Get those four things right and the visible part is straightforward — measure, drill, screw, repeat. Take your time with the groundworks, and you will have a path that still looks and feels solid long after the surrounding planting has grown in around it.
Photo: mingche lee / Pexels
Related posts
More stories you’ll love reading