



A gravel and cedar path has a lot going for it. It is forgiving underfoot, cheap compared with paving, and the warm tones of cedar sit beautifully against loose stone. It is also the kind of project where the mistakes stay hidden for a season or two, then announce themselves all at once: weeds pushing through, gravel creeping onto the lawn, timber going grey and soft where it meets the ground. None of these problems are expensive to avoid. They just have to be dealt with in the right order, before the first barrow of stone goes down.
1. Rushing the Sub-Base
The gravel you see is only the topping. Everything underneath is doing the actual work, and if it is thin or badly compacted, the path will rut where you walk and dip where the ground is soft. For a pedestrian path, aim for a compacted layer of around 75–100mm of MOT Type 1 or similar crushed stone. On clay or recently disturbed ground, go deeper.
Two details matter more than the depth. First, dig out the full area rather than trying to build up on top of turf or topsoil — organic material will rot and settle. Second, compact in two thinner layers rather than one thick one, watering lightly as you go. A wobbly base is the single most common reason a path looks tired within a year.
2. Ignoring Drainage and Fall
Gravel is permeable, so it is tempting to think drainage looks after itself. It does not. Water still needs somewhere to go, and if the path sits flat or slopes towards the house, it will pool in the lowest spot and soften the base.
Give the finished surface a gentle crossfall, roughly 1 in 60 to 1 in 80 — about a 15–20mm drop across a metre-wide path is plenty. On a sloping site, think about where the water will arrive and where it will leave. If the path runs towards a wall, a step, a shed or a driveway that already floods, add a drainage channel or a gravel-filled French drain at the low point. It is far easier to dig a trench now than to lift the path later.
3. Skimping on the Membrane
Weed membrane gets treated as an optional extra. It is not, and the thin black polythene sold in small rolls is the wrong product anyway — it tears, holds water and does nothing useful.
- Use a proper geotextile. A woven weed membrane under the gravel, or a non-woven fabric where you also need to separate soft subsoil from the sub-base.
- Overlap generously. 100–150mm at every joint, and turn the edges up against any edging so gravel cannot slip underneath.
- Do not pierce it more than you must. Cut around posts and edging pins neatly rather than dragging the fabric over them.
Membrane will not stop weed seeds that blow in and germinate in the gravel itself, but it does stop what is already in the soil below from coming through — which is the battle you actually want to win.
4. Getting the Gravel Depth and Type Wrong
Too little gravel and the membrane shows through, the base looks patchy and every stone you kick exposes fabric. Too much and the surface feels loose and unstable, like walking on ball bearings, and wheelbarrow wheels sink in.
Around 40–50mm of compacted decorative gravel is the sweet spot for a garden path. As a rough guide, one tonne of gravel covers about 12 square metres at that depth, though it varies by stone type, so check with your supplier before ordering.
Choose the right stone, too. Angular 10–14mm gravel knits together to form a firm, quiet surface, and chippings in the 14–20mm range work well on wider paths. Rounded pea gravel, however pretty, rolls underfoot, migrates into beds and is genuinely uncomfortable for anyone in thin-soled shoes. If you want to keep the colour in place, consider a light dressing of your chosen gravel over a firmer, cheaper base layer.
5. Forgetting the Edge Restraint
Gravel is a liquid that thinks it is a solid. Without a firm edge, it will spread into borders, get kicked onto the lawn and end up in the house within a year. Fit the edging before you fill.
Timber, steel, brick or aluminium edging all work, provided the top sits slightly above the gravel line — around 10–15mm proud. That small lip is what keeps the stone where you put it. If the path is steep, you may also need a stabilising grid under the gravel to stop the stone washing downhill in heavy rain.
6. Mishandling the Cedar
Western red cedar is naturally durable, but it is not indestructible, and a few habits shorten its life considerably.
Keep it out of permanent soil contact. Cedar posts and edging boards that sit buried in wet ground with no airflow will go soft at the base long before the rest of the timber shows any wear — bed them on a concrete or mortar mix, or use a gravel-filled drainage gap. Use stainless steel or hot-dip galvanised fixings; ordinary steel screws rust quickly and leave long brown streaks across pale timber.
On gaps, be deliberate: 6–8mm between decking boards or slats gives drainage and airflow without letting gravel wedge itself permanently into the joints. And resist the urge to seal new cedar with a heavy varnish. If you want to hold the warm colour, use a breathable oil; otherwise let it weather naturally to silver-grey, which is what cedar does best.
A Quick Checklist Before You Dig
- Mark the path, then dig out to full depth — no building up over turf.
- Set your fall away from buildings and check it with a spirit level.
- Lay and compact the sub-base in two layers.
- Fit the edge restraint, sitting proud of the finished gravel.
- Overlap the membrane, turning edges up against the restraint.
- Fill with angular gravel to about 40–50mm, then rake level.
- Keep leaf litter off the path — it breaks down into soil, and soil grows weeds.
Get those seven things right and a gravel and cedar path will quietly do its job for years, needing little more than an occasional rake and a top-up of stone. Get them wrong and you will be rebuilding it sooner than you would like.
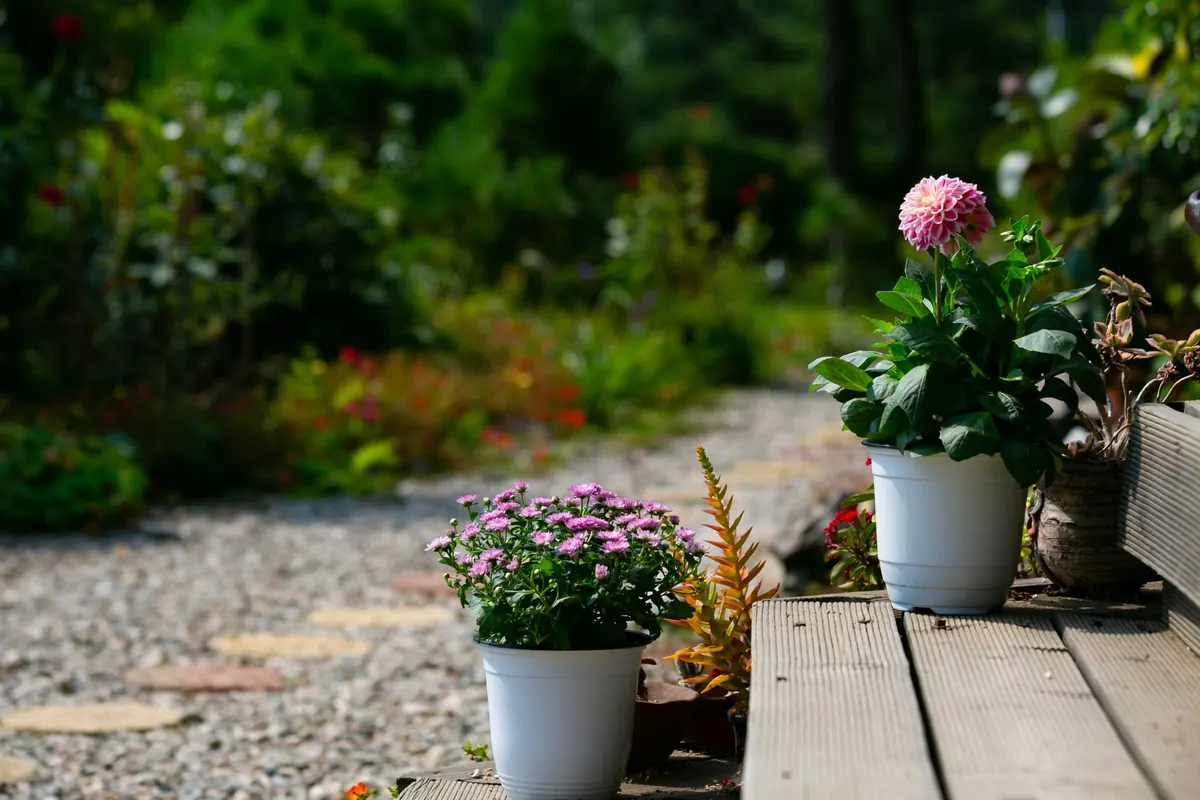
Photo: 대정 김 / Pexels
Related posts
More stories you’ll love reading